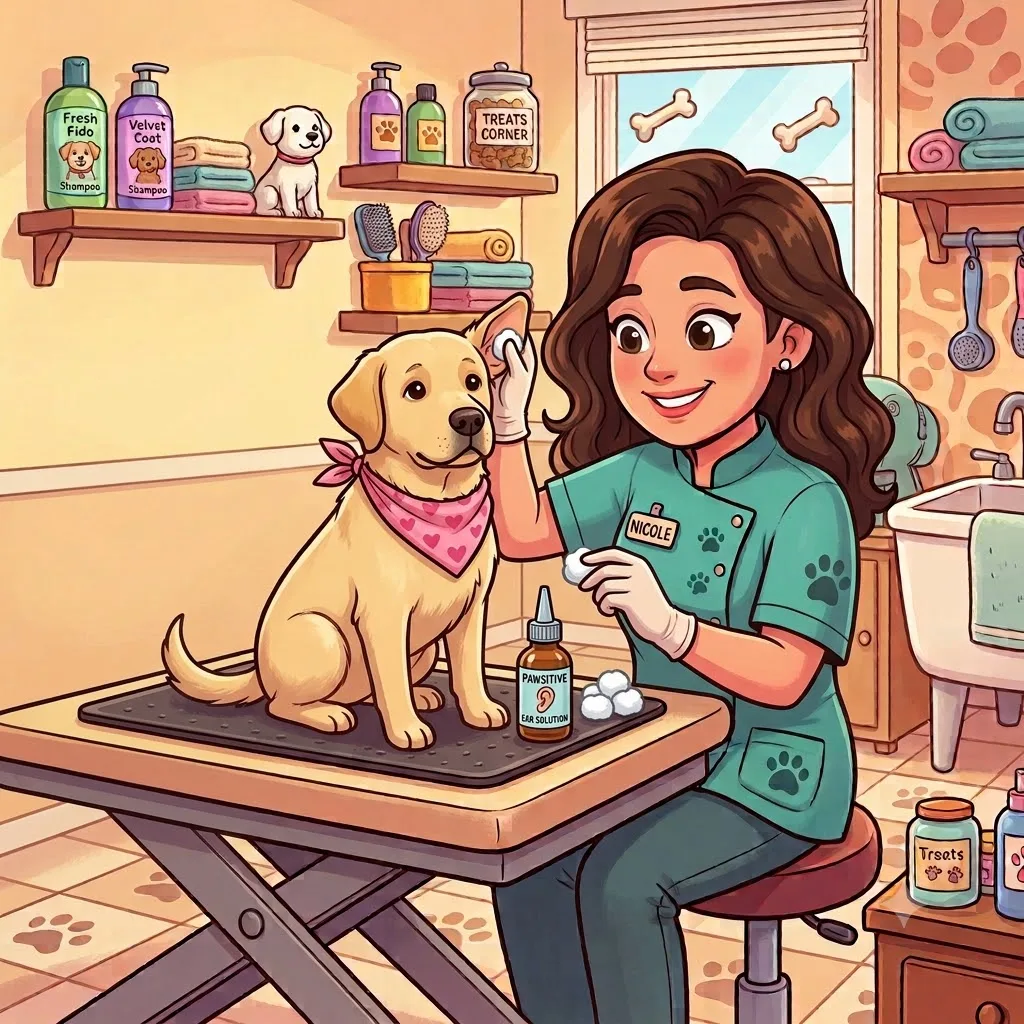
Why Dog Ears Need Attention
Dog ear canals are shaped like an L, with a vertical part going down and a horizontal part going inward. This shape is great for hearing but terrible for airflow. Moisture, debris, and wax get trapped in there, and the warm, dark, moist environment is a perfect breeding ground for bacteria and yeast.
Some dogs are more prone to ear issues than others. Floppy-eared breeds (Basset Hounds, Cocker Spaniels, Cavaliers) trap more moisture and get less airflow, which makes them higher risk. Dogs that swim frequently are also at higher risk because water gets into the ears and stays there. Dogs with allergies often have chronic ear issues as a side effect of the allergic inflammation. And some dogs just produce more wax than others, for no clear reason.
What You Can Do at Home
The at-home ear care routine is straightforward:
1. Check the ears weekly. Look inside the ear flap and down into the canal as far as you can see. Healthy ears are pink, clean, and odor-free. Unhealthy ears are red, brown, yellow, or black, smell bad, have visible debris, or cause the dog to scratch or shake their head.
2. Clean when needed. If you see wax or debris, it is time to clean. Use a dog-specific ear cleaner (never use rubbing alcohol, hydrogen peroxide, or vinegar without talking to your vet). Squeeze the cleaner into the ear canal, massage the base of the ear for 20 to 30 seconds to work the cleaner in, then let the dog shake their head. Wipe out the loosened debris with a cotton ball or soft cloth. Do not use cotton swabs inside the ear canal. They pack debris deeper and can damage the eardrum.
3. Dry the ears after swimming or bathing. Moisture in the ear canal is the enemy. A few drops of ear dryer (a dog-specific product, or a homemade solution of equal parts white vinegar and water, with vet approval) can help. If you do not have ear dryer, just wiping the visible part of the ear canal with a dry cotton ball is better than nothing.
That is it. The at-home routine does not need to be more complicated than that. Most dogs do well with a weekly check and a clean only when there is visible wax or debris.
What NOT to Do
A few things to avoid:
– Do not use cotton swabs (Q-tips) inside the ear canal. You will pack wax and debris deeper and risk damaging the eardrum. Use cotton balls to wipe the visible parts only.
– Do not use hydrogen peroxide. It can irritate the sensitive tissue inside the ear.
– Do not use rubbing alcohol. Same reason, plus it stings if the ear is already irritated.
– Do not use essential oils. Many are toxic to dogs or irritating to ear tissue.
– Do not over-clean. Cleaning too often or too aggressively can strip the natural protective coating inside the ear and actually cause problems. Once a week is plenty for most dogs. Less if the ears are clean.
– Do not put anything in the ear if you suspect an infection. If the ear is red, swollen, smelly, or the dog is in pain, see the vet first. Putting cleaner in an infected ear can make it worse.
Signs of an Ear Infection
I will go into this in more detail in a separate post, but the basic signs to watch for:
– Redness inside the ear flap
– Brown, black, or yellow discharge
– Bad smell (often described as yeasty, sweet, or just “off”)
– The dog shaking their head frequently
– The dog scratching at the ear or rubbing it on furniture
– The dog crying or pulling away when the ear is touched
– Head tilting to one side
– Loss of balance (in severe cases)
If you see any of these, see the vet. Ear infections are treatable, but they get worse and more expensive to treat the longer they go.
The Grooming Connection
I clean ears on every dog that comes in for a Full Groom. I use a dog-specific ear cleaner, massage the base of the ear, let the dog shake, and wipe out the debris. I am also looking for the warning signs of an infection, and I flag anything concerning to the owner.
Some breeds need more frequent ear cleaning than others. Cocker Spaniels, Basset Hounds, and other floppy-eared breeds often benefit from ear cleaning every 2 weeks, not just at the groom. If your dog is in this category, ask your groomer to show you the right technique so you can do it at home in between.
When in Doubt, Ask
Ear care is one of those things where a quick conversation with your vet or groomer can save you a lot of trouble. If you are not sure whether your dog’s ears need cleaning, whether the wax you are seeing is normal, or whether the smell is concerning, ask. We have seen thousands of ears and can tell you quickly whether what you are looking at is normal or a problem.
Stay fresh and furry, Nicole / Vroom Grooms LLC
About the Author
Nicole is the owner and certified groomer behind Vroom Grooms LLC, a mobile dog grooming service serving Northwest Ohio. She has been certified since 2020 after completing 640 hours of hands-on training, and cleans ears on every dog in the van. You can catch her live on Twitch at DogGroomerNIcole, where she streams real appointments and points out what she notices about each dog’s ears.
This post was drafted with help from Nagini 🐍, her digital assistant, who keeps the blog running, handles the tech side of the website, and makes sure Nicole spends more time with dogs and less time wrestling with WordPress.